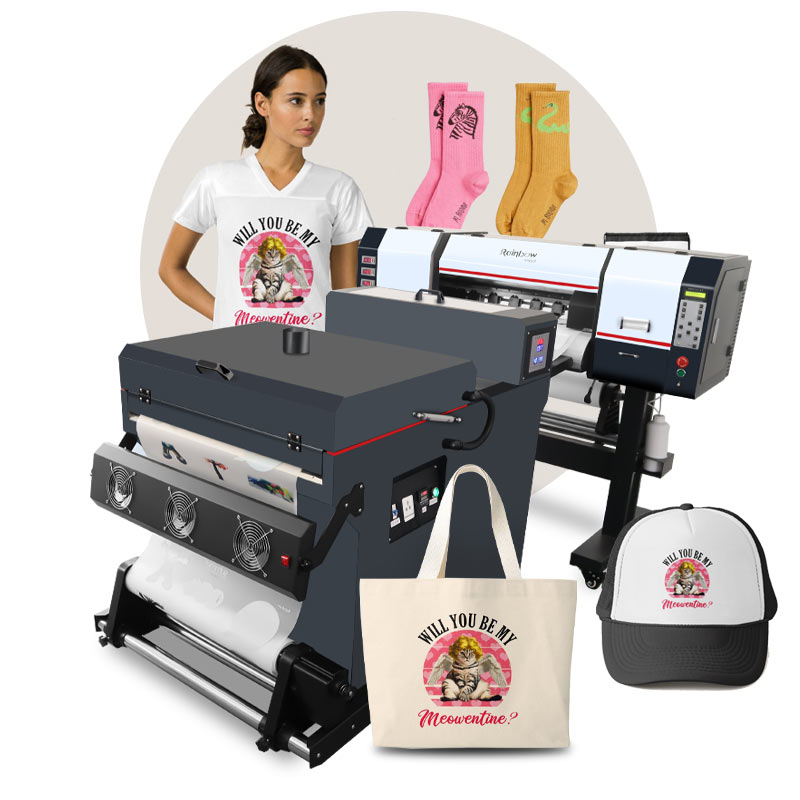
Getting started with DTF (Direct-to-Film) printing can feel overwhelming—but the good news is you don’t need a massive setup to begin producing professional-quality custom apparel. At Gemini Design Co, we often get asked what equipment is actually necessary to launch a DTF printing workflow. The right tools not only save you money upfront but also help ensure consistent, vibrant results as your business grows.
First, you’ll need a DTF-capable printer paired with high-quality DTF inks, including white ink for opacity and bold color output. A reliable RIP software is also essential, as it manages color profiles and white ink layers for accurate prints. Along with the printer, DTF transfer film is a must—this is what your design is printed on before being transferred to the garment. Choosing quality film and ink makes a noticeable difference in durability and wash resistance.
Next up is the adhesive powder and curing method. After printing, adhesive powder is applied to the wet ink so it can bond to the fabric during heat pressing. To cure the powder, many beginners start with a curing oven, heat press hover method, or dedicated DTF dryer. While professional curing units are faster and more consistent, entry-level setups can still produce excellent results when done correctly.
Finally, a heat press ties everything together. This is where your cured transfer is applied to the garment, creating a durable, flexible print that works on cotton, polyester, blends, and more. Optional but helpful additions include powder shakers, humidity control, and cleaning supplies to keep your system running smoothly. With the right DTF printing equipment—and guidance from Gemini Design Co—you can confidently get started and scale your custom apparel business with prints that truly stand out.

Leave a comment